Most people tend to take their car to the local car wash that has a vacuum and quickly give it a hoover. So, let’s discuss and answer your question of How Do I Valet My Car At Home?
First of all, we take a look at washing and drying the exterior.
Products and tools that will be needed on How To Valet Your Car At Home:
- 2 Buckets (1 for soap and the other for rinsing your lambswool mitt) this is called the 2 bucket method. Note: A grit guard must be used in the rinsing process.
- Lambswool washing mitt
- Your choice of car shampoo (Meguires Ultimate wash and wax is highly recommended)
- Microfiber drying towel
- Alloy wheel cleaning brush
- Pressure washer (Karcher are a good choice)
- Snow Foam Lance
- Snow Foam
- Tire dressing

Step 1:
- Pressure wash the entire car from top to bottom ensuring that all loose debris, grit and other road detritus is removed upon washing to prevent scratching and marring. The cleaner your mitt is the safer the wash. This is very important especially on brand new cars with no paint defects.
Stage 2: (Pre-Wash)
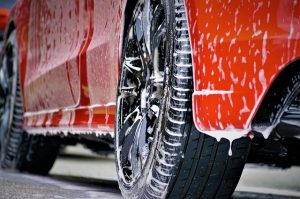
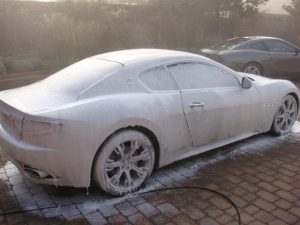
- Fill snow foam in a lance then spray on the entire car including alloys and wheel arches. This will loosen up more dirt and grime allowing for a safer wash. Make sure that the snow foam is used as per the instruction given by the manufacturer for the best results.
- Rinse off snow foam thoroughly from top to bottom.
On condition that your vehicle has bug and bird droppings then you will need a quality all-purpose cleaner. Spray directly on the affected area and gently rub until removed. DO NOT allow to dry and always follow the manufacturer’s direction of use. In hot summer days ensure you have your pressure washer nearby to spray on the parts that are drying in to quickly.
Stage 3: (Alloy wheel cleaning)
- Depending on your alloys and number of spokes it contains, you will need different brushes. Apply a high standard grade alloy wheel cleaner all over the alloy.
- brush off dirt and grime until clean.
- rinse-off thoroughly.
ProTip: Clean and rinse one wheel at each time and I would recommend using gloves as this part can make your hands extremely dirty due to wheel brush splatter. Also, be careful with your face as it can reach up there too.
Stage 4: (Washing your car)
- Fill up Bucket 1 (The bucket without the grit guard) with Meguires Ultimate wash and wax shampoo. (Dilute as per instructions)
- Fill bucket 2 with clean water (No shampoo)
- Dip Lambswool mitt in the shampoo and apply it to the car. Start from the roof and work downwards. In straight-line apply SOFT pressure then Once you reach the bottom of the car rinse off your mitt in bucket 2 (clean water) thoroughly to ensure the grit and dirt are removed. If you find that the car is drying quickly after cleaning each section then I would recommend rinsing as you go.
Stage 5: (Drying your car)
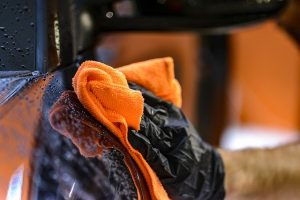
You are going to need two microfiber drying towels for this.
- If you purchased an unused towel then shake off loose fibers after unpacking before use.
- Start from top to bottom and again apply gentle pressure to the paintwork in straight lines.
- Dry alloy but don’t be alarmed if you see dirt spots you have missed as you can use your drying towel to wipe off the remainder.
ProTip: Do not drop your towel or let it touch the ground once you reach the bottom of the car. If you do then I suggest throwing out that towel and grabbing a new one because grit will attach itself to the cloth and, therefore, will potentially scratch the paintwork.
Benefits from drying your car after it has been washed are the following:
- Prevents water spots from staining
- won’t leave dried in smears of dirt
- A nice touch to your valet at home.
Stage 6: (The final stage for an exterior wash on How To Valet Your Car At Home)
- Apply a high-quality tire shine to a brush and work through the tire.
Do not put tire dresser on the tread as this can cause skidding while driving.
The higher the quality the longer your car tires look nice and shiny and its a perfect touch to end the exterior wash. Our recommendation has to be Meguairs Tyre dressing gel.
How to clean the interior of your car:
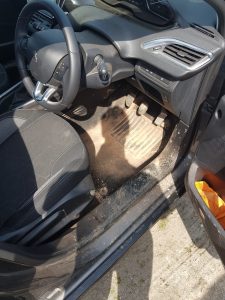
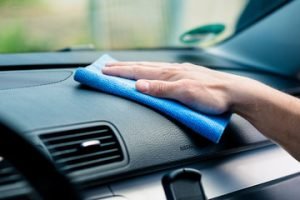
It’s now time to take a look at cleaning the interior of your car. We are a professional mobile valeting company in Aberdeen and have been for 8 years. The methods and products that I am going to mention in this article are what we use and do ourselves. This will allow you will miss all the years of our trial and error stage to ensure you can jump straight onto how to valet your car professionally at home.
Tools and products that will be needed to ensure that you will successfully carry out a full interior valet at a high level of cleanliness.
- Wet and dry vacuum
- Interior brush set
- Microfiber cloths
- All-purpose cleaner
- Shampoo extractor for wet and dry vacuum
- Leather cleaner
- Pet hair brush (if required)
- Window cleaner
- Harder brush set for before extracting with the wet and dry vac.
Stage 1: (General cleaning of the dashboard, console, steering wheel, gear shifter, air vents, indicator switch)
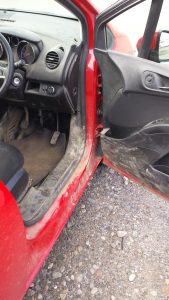
- Using your Interior brush set, wipe down everything as mentioned above to remove as much dust as possible but don’t worry about this being perfect, we will get to that.
- Dip your microfiber cloth in clean water and thoroughly squeeze to remove as much water as possible so that your cloth is damp. Once your cloth is damp wipe down everything as mentioned to remove more debris.
- If your console is full of spilled coffee, sticky sweets, and crumbs, etc then spray an all-purpose cleaner and begin vacuuming all that rubbish.
- Grab an interior brush and begin going over everything mentioned above but this time have your vacuum close so that you can shift your brush back and forth heading into the vacuum.
- You will then need two clean microfiber cloths, one for wiping and the other for buffing. Spray an interior cleaner onto a cloth and begin wiping down the surfaces. Don’t forget the indicator switches. Buff off until streaks are removed.
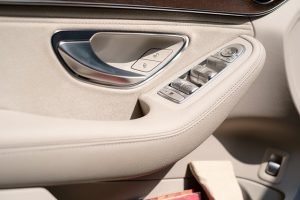
Note: This will apply for door consoles, ie Door pockets, window buttons, and plastics.
ProTip: Blowing a steamer in the air vents will blow out the dust that is hidden while at the same time smelling refreshed, blemished snd sanitized.
Stage 2: (Vacuuming)
- Start with the driver’s side first. Vacuum the car mats and seats first, then remove and place them in the boot (not the ground) so that they don’t get dirty with the wind blowing outside particles on them.
- Put the driver’s seat right back so that you can reach under to remove all that dust and muck that has built up over the months/years. If you find that the vacuum isn’t picking up as much as you would like then I would suggest grabbing your hard brush and proceed to scrub carpets until grit lifts then vacuum loose particles away.
- For vacuuming the back of the car you want to pull the seat forward first. you will find a lever under the seat to do this or it may work by an electrical button.
- Repeat steps for passenger side and boot.
Pro Tip:
- You can remove seats for full maximum clean but this can be tough to put back together so make sure you know what you’re doing before removing the seats from any vehicle.
- Clean drivers pedal the same time you vacuum. Spray all-purpose cleaner on the pedals and wipe down then suck out any liquid with your vacuum that may have seeped in the cracks/rubber while spraying to ensure that your feet won’t slip while driving.
Stage 3: (Shampooing of interior car seats, mats, and carpets)
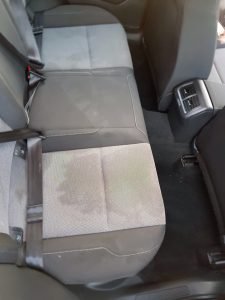
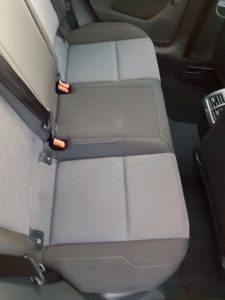
- Fill wet and dry vac with car shampoo and begin shampooing. I recommend using a non-foam shampoo as this will stop any foam over spilling out of your machine.
- Recline your seat back and proceed to shampoo.
- If you have hard stains that won’t remove with the extractor then what you need to do is spray all-purpose cleaner on the affected area and begin to scrub with a hard brush then extract again. Repeat the process until the stain has been removed.
Stage 4: (window cleaning)
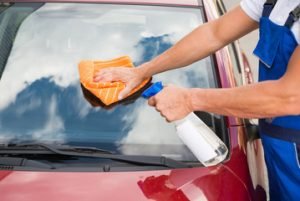
You will need 2 clean microfiber cloths for this.
- Spray product directly onto glass.
- Use cloth one to wipe clean and then the other to buff.
- Buff in circular motions until smears have disappeared.
Pro Tip: Do not let the product dry and if you are faced with direct sunlight then I would advise you buff as soon as you can as this can lead to smears that are hard to get rid of no matter how much you wipe the glass.
Stage 5: The final step on how to clean your car at home (boot and door shuts)
- Spray your quick detailer product around the door and boot shuts then wipe down using clean cloths
- One cloth for wiping and the other for buffing
Note: A quick detailer is a fantastic product that will leave your door and boot shuts nice and shiny.
Final thoughts on How To Clean Your Car At Home:
Now that you’ve read our article on how to valet your car at home if you follow all these steps I can assure you that you will be delighted with your work. How Do I Valet My Car at Home has never been easier and it is an investment.
The most important thing for How Do I Valet My Car at Home is to make sure you have fun and enjoy the process.


0 Comments